Choosing the Right Glue and Materials for Mitered Cabinet Door Frames

Creating strong, lasting mitered joints in cabinet door frames requires careful consideration of both the glue and the wood itself. The right glue will ensure a robust bond that can withstand the stresses of daily use, while proper wood preparation prevents failures and maximizes the glue’s effectiveness. Let’s delve into the details.
Wood Glue Selection for Mitered Joints
The success of your mitered joints hinges significantly on the type of wood glue you choose. Different glues offer varying open times, clamp times, and ultimate strength. Choosing the wrong glue can lead to weak joints, glue squeeze-out issues, or even complete failure. Several types are suitable for this application, each with its own advantages and disadvantages.
Comparison of Wood Glues
Here’s a comparison of four popular wood glues commonly used in woodworking, highlighting their key characteristics:
| Glue Type | Cost (Approximate) | Open Time (Minutes) | Clamp Time (Hours) | Final Strength |
|---|---|---|---|---|
| Yellow Wood Glue (PVAc) | Low | 10-20 | 1-2 | High |
| White Wood Glue (PVAc) | Medium | 15-30 | 1-2 | High |
| Polyurethane Glue | High | 30-60 | 2-4 | Very High |
| Epoxy Glue | High | 30-60 (varies by type) | 4-24 (varies by type) | Very High |
*Note: Costs and times are approximate and can vary depending on brand and specific product.*
Wood Preparation: The Foundation for Strong Joints
Before even thinking about glue, meticulous wood preparation is paramount. This step often gets overlooked, yet it’s arguably the most crucial for creating durable mitered joints. Ignoring proper preparation can significantly weaken the bond, regardless of the glue’s quality.
Surface Preparation Techniques
Proper surface preparation involves ensuring that the mating surfaces of your mitered joints are clean, smooth, and perfectly aligned. This means:
* Planing or sanding: Achieve a smooth, flat surface free from any imperfections. Any irregularities will prevent full contact between the wood and the glue, resulting in a weak joint.
* Dust removal: Thoroughly remove all sawdust and debris. A compressed air gun is ideal for this, ensuring the surfaces are completely clean.
* Moisture content: The wood’s moisture content should be consistent across all pieces. Uneven moisture content can cause warping and joint failure after the glue dries. Aim for a moisture content between 6% and 8% for most hardwoods.
Impact of Wood Moisture Content
The moisture content of the wood significantly impacts the strength and longevity of the glued joint. If the moisture content is too high, the wood can shrink as it dries, putting stress on the joint and potentially causing it to crack or fail. Conversely, if the wood is too dry, it can absorb moisture from the environment, leading to similar problems. Using a moisture meter is recommended to ensure consistent moisture content in all pieces before gluing.
Techniques for Precise Miter Cuts and Assembly

Creating perfectly mitered cabinet door frames requires precision at every stage, from the initial cut to the final clamping. The accuracy of your cuts directly impacts the strength and aesthetic appeal of your finished product. Let’s explore the techniques that will help you achieve professional-looking results.
Precise Miter Cuts with Various Tools
Achieving a perfect 45-degree miter cut is crucial for a seamless joint. The method you choose will depend on your tools and experience level. Let’s examine three common approaches: using a hand saw, a miter saw, and a table saw.
How to glue up mitered cabinet door frames – Hand Saw: This method requires patience and a steady hand. First, mark your workpiece accurately with a sharp pencil and a square. Ensure your cut line is perfectly perpendicular to the edge. Then, carefully position the saw blade precisely on the line, maintaining a consistent angle throughout the cut. Use a slow, controlled sawing motion, avoiding any pressure that might force the saw off track. Multiple passes may be necessary for cleaner cuts, especially in thicker wood. Imagine a perfectly straight line running down the workpiece, and focus on following it as closely as possible.
Miter Saw: A miter saw provides much greater accuracy and speed. Secure your workpiece firmly against the fence, ensuring it’s square to the blade. Adjust the saw to a 45-degree angle. Engage the saw and make a smooth, controlled cut. The saw’s built-in mechanism ensures consistent angle accuracy. The precision of this method is readily apparent in the clean, consistent cut it produces.
Table Saw: Using a table saw for miter cuts requires a miter gauge. Set the miter gauge to 45 degrees and secure your workpiece firmly against it. Adjust the blade height appropriately for the thickness of your material. Make a smooth, controlled pass, feeding the wood slowly and evenly. The table saw provides good accuracy, but careful setup is crucial to prevent kickback. The smooth, controlled feed rate helps to ensure a consistent and accurate cut.
Assembling the Mitered Frame
Once you’ve made your precise miter cuts, assembling the frame requires careful handling and the right clamping techniques. Improper clamping can lead to misalignment and weak joints.
Before gluing, dry-fit the pieces to check the alignment. Any gaps indicate inaccuracies in your cuts that need to be addressed before proceeding. Once satisfied with the dry fit, apply glue to the mitered ends, ensuring even coverage. Then, begin clamping.
- Corner Clamps: These specialized clamps are designed to apply even pressure to the mitered corners, preventing slippage and ensuring a tight joint. Their design perfectly conforms to the 45-degree angle, offering excellent support.
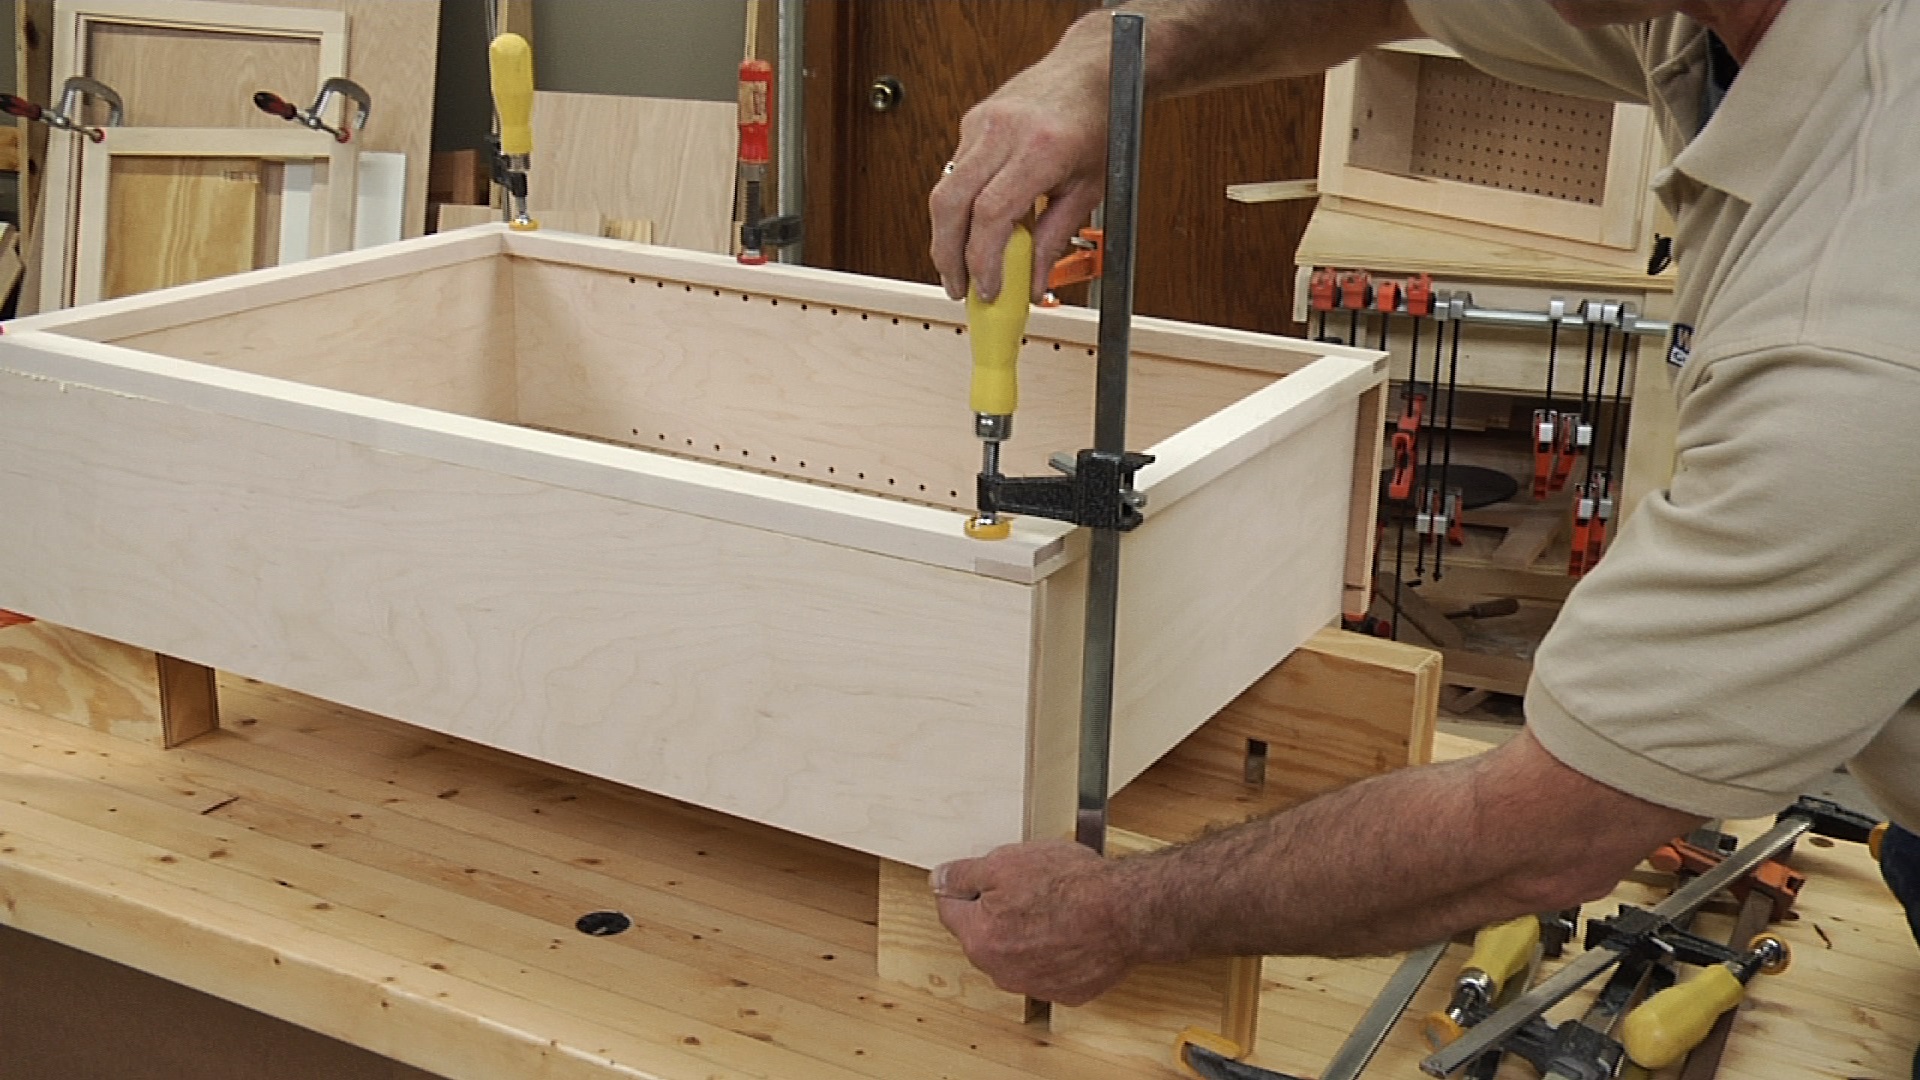
- Bar Clamps: These versatile clamps can be used in conjunction with cauls (explained below) to apply pressure along the entire length of the joint. They provide strong clamping force, but require careful placement to avoid marring the wood.
- Hand Clamps: While not ideal for mitered joints alone, hand clamps can be used in combination with other clamping methods to provide additional support, especially in smaller frames.
Aligning Mitered Joints Before Gluing
Accurate alignment is paramount for a strong and aesthetically pleasing joint. Several methods exist to achieve this, each with its own advantages and disadvantages.
Dry-fitting is your first step. This allows you to identify any gaps or misalignments before applying glue. Then, consider these alignment techniques:
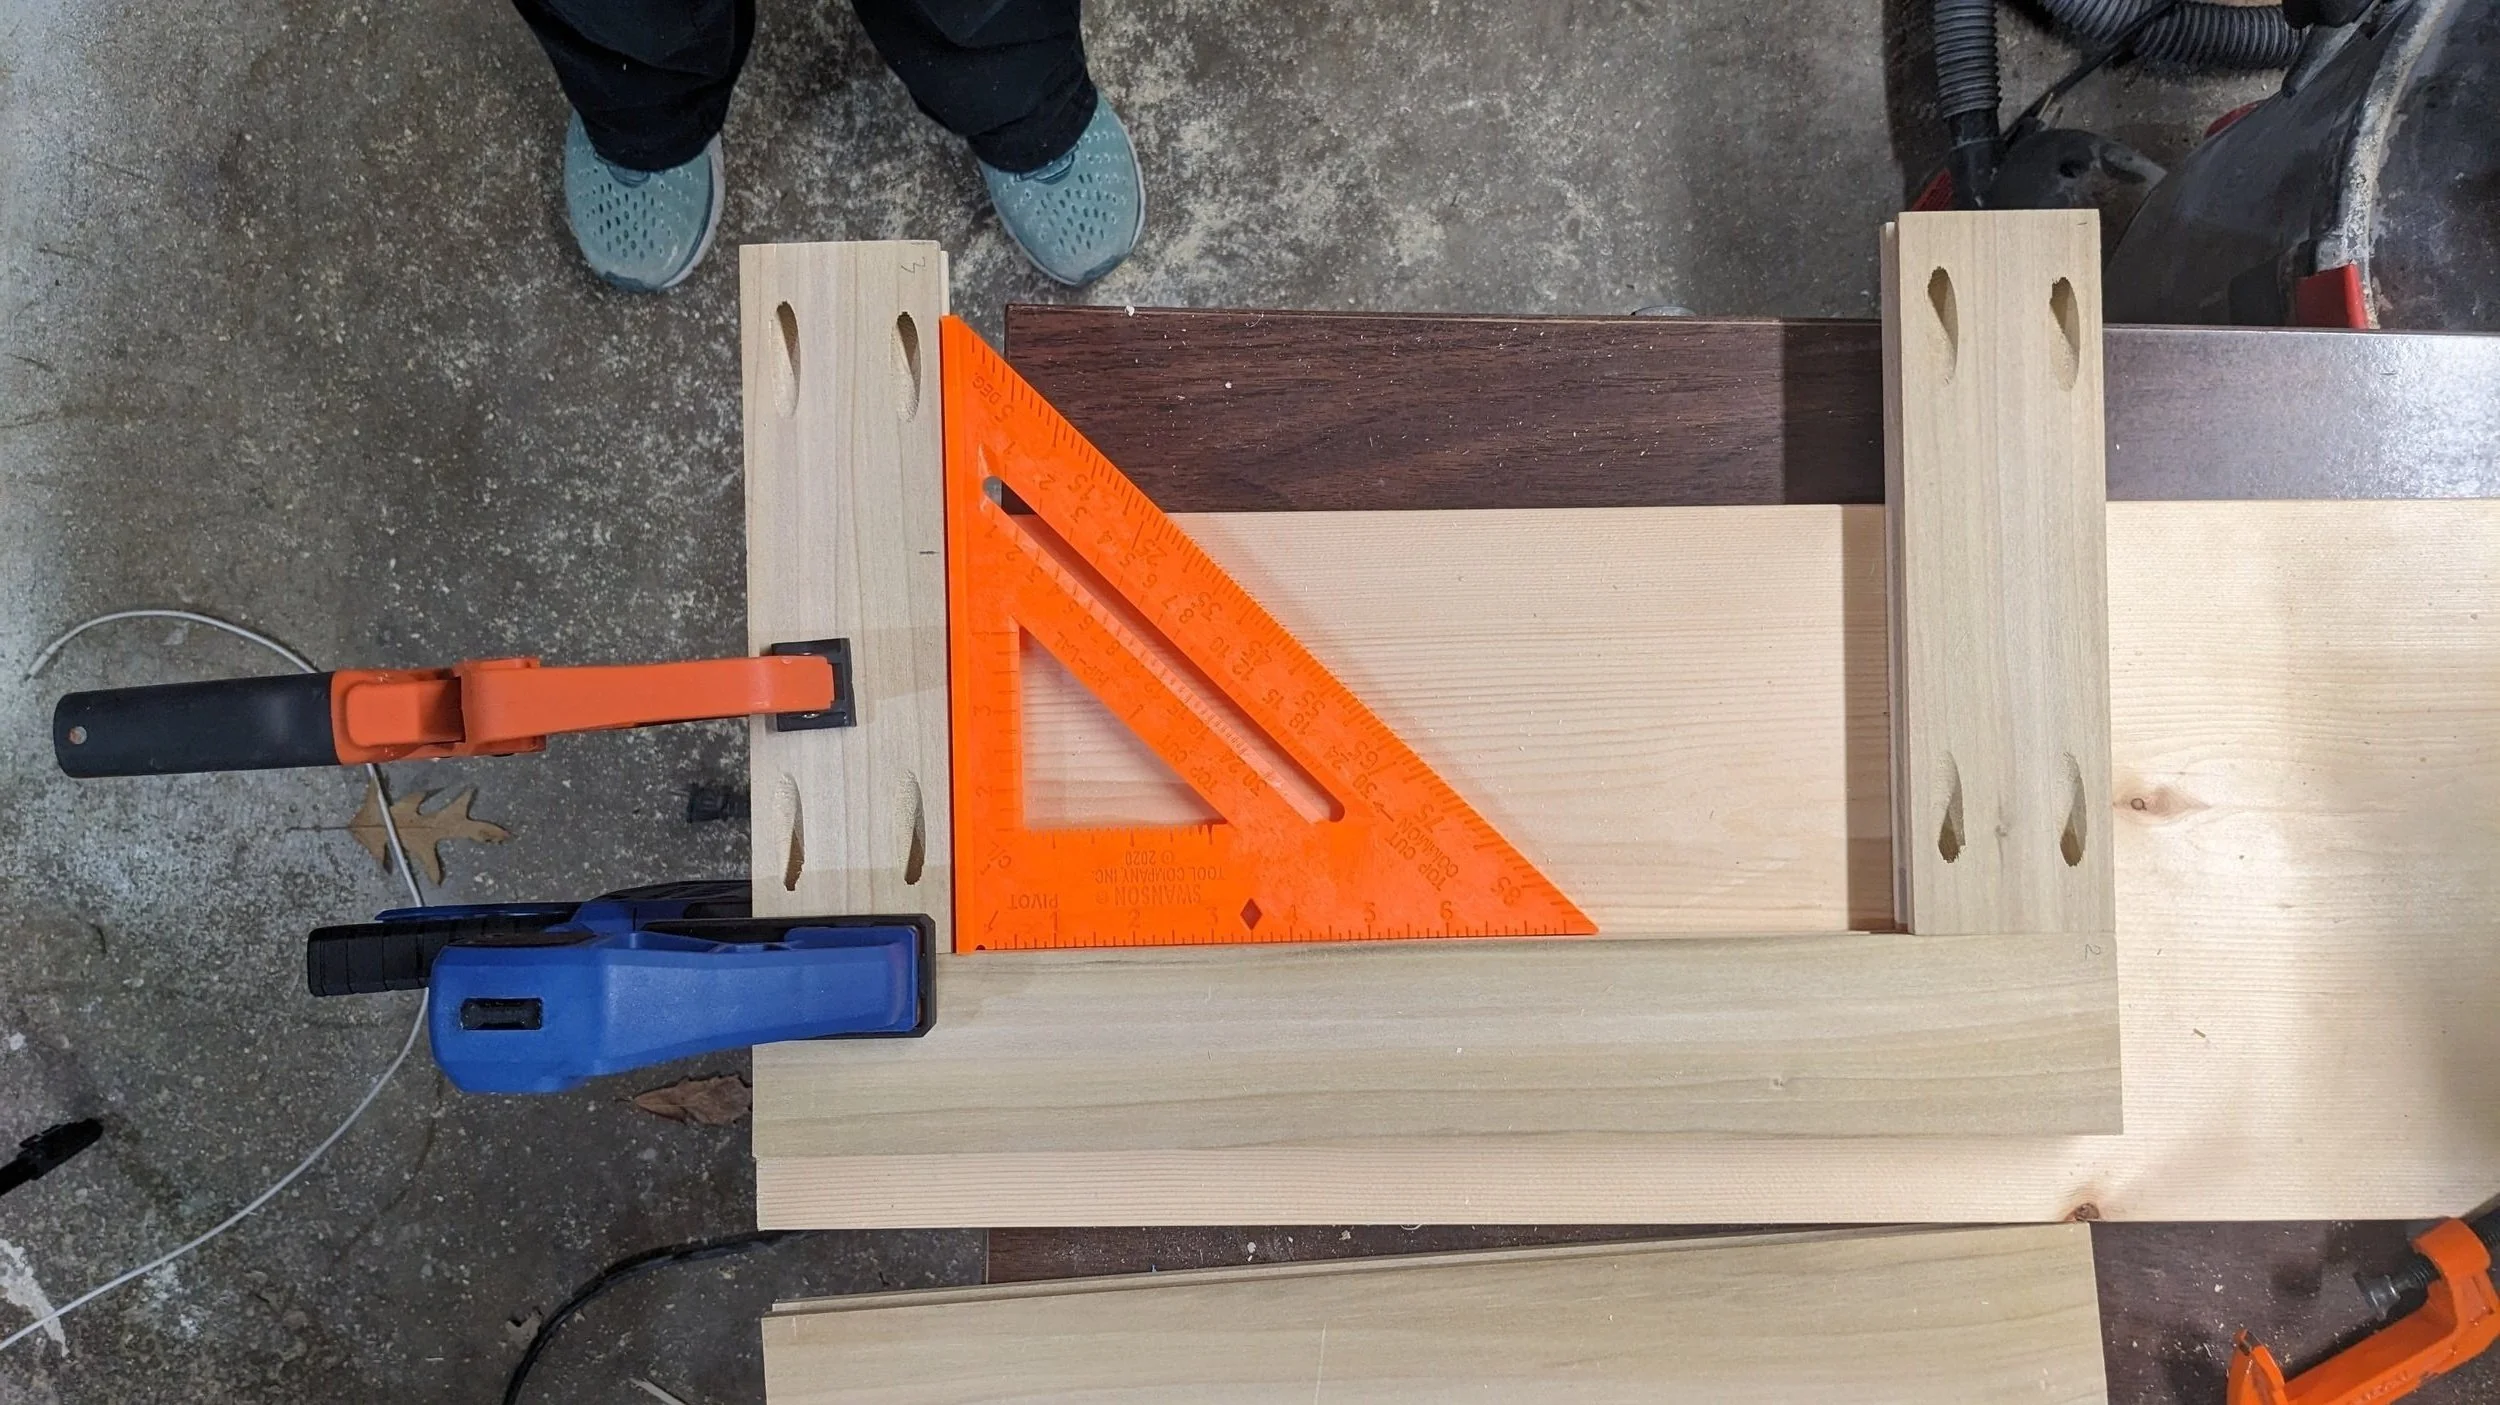
Cauls: Cauls are pieces of wood placed against the outside of the frame during clamping. They distribute clamping pressure evenly, preventing squeeze-out and ensuring the joints remain aligned. They should be slightly wider than the frame itself to prevent any pressure from focusing on the joint.
Alignment Pins: Small dowels or pins can be inserted into pre-drilled holes to maintain alignment during clamping. This is particularly helpful for larger frames or when working with less stable wood. Ensure the pins are positioned correctly and do not interfere with the glue line.
Wedges: For very small gaps, carefully tapping in thin wedges can help to align the joints. This is a delicate process and should only be used as a last resort after other alignment methods have been considered. Excessive force can damage the wood.
Finishing and Refinement of Mitered Cabinet Door Frames: How To Glue Up Mitered Cabinet Door Frames

Creating flawlessly mitered cabinet door frames requires attention to detail, extending beyond the precise cuts and glue-up. The final stages of finishing and refinement are crucial for achieving a professional, high-quality result. These steps transform a carefully assembled frame into a beautiful and durable component ready for installation.
Glue Squeeze-Out Removal, How to glue up mitered cabinet door frames
Excess glue squeeze-out is inevitable during assembly. Prompt and careful removal is essential to prevent unsightly blemishes and ensure a smooth surface for finishing. Several methods exist, each with advantages and disadvantages.
- Damp Cloth: A slightly damp (not soaking wet) cloth is effective for removing fresh glue. Gently wipe away the excess before it dries completely. Pros: Simple, readily available. Cons: May not be effective on dried glue, can slightly discolor some finishes.
- Glue Scraper: A plastic or metal scraper (avoiding sharp metal tools that could scratch the wood) can carefully remove hardened glue. Work at a shallow angle to avoid gouging the wood. Pros: Effective on dried glue. Cons: Requires careful technique to prevent damage.
- Sandpaper: Fine-grit sandpaper (around 220 grit) can be used to smooth away small amounts of dried glue. Pros: Simple, effective for minor residue. Cons: Can be time-consuming for large amounts of glue.
Sanding the Assembled Frame
Sanding is essential to create a perfectly smooth surface, ready for the final finish. A systematic approach using progressively finer grits ensures a flawless result.
- Start with a coarser grit: Begin with 120-grit sandpaper to remove any significant imperfections or glue residue. Sand with the grain of the wood to avoid scratches.
- Progress to finer grits: Gradually move to 180-grit, then 220-grit sandpaper, and finally finish with 320-grit. Each step removes finer scratches from the previous one.
- Sand evenly: Ensure consistent pressure and avoid sanding in one area more than others. Regularly check your progress to prevent over-sanding.
- Use a sanding block: A sanding block helps maintain a consistent, even surface and prevents uneven sanding marks.
Finishing Options
The choice of finish depends on the desired aesthetic and the overall style of the cabinetry. Each option offers unique advantages and requires specific techniques.
Staining: Apply stain according to the manufacturer’s instructions. Multiple thin coats are generally better than one thick coat. Allow ample drying time between coats. Consider using a pre-stain conditioner for even absorption, especially on porous woods.
Painting: Start with a high-quality primer to ensure good adhesion and even color. Apply several thin coats of paint, allowing each coat to dry completely before applying the next. Lightly sand between coats with very fine sandpaper (320 grit or higher) to achieve a perfectly smooth finish.
Clear Coating: A clear coat protects the wood and enhances its natural beauty. Options include polyurethane, lacquer, and varnish. Apply several thin coats, sanding lightly between coats with fine sandpaper to achieve a smooth, even finish. Follow the manufacturer’s instructions for drying times and application methods.
